Ever tried to create a molecular illustration with classic molecular viewers? If the answer is yes, then you already know the struggle.
You have to find a free version that does not crash your computer and spend hours trying to figure out how it works, possibly with some coding involved. Fight with programs that are complicated, unintuitive, and often require a license.
There is a solution, it’s called Protein Imager!
About Protein Imager
Protein Imager is a free web-based molecular viewer to create molecular illustrations in a few clicks. It was developed by scientists from the 3D Protein Imaging studio with the goal of streamlining protein illustration.
Why Protein Imager?
What differentiates Protein Imager from other molecular viewers is its simplicity and accessibility. You only need to sign in with your email and an internet connection to access all Protein Imager functionalities.
Protein Imager has a user-friendly interface that allows customization of the molecular illustration in every detail. The user can choose among different preset styles (cartoony, realistic, coarse-grain surface) or customize the visualization as they please.
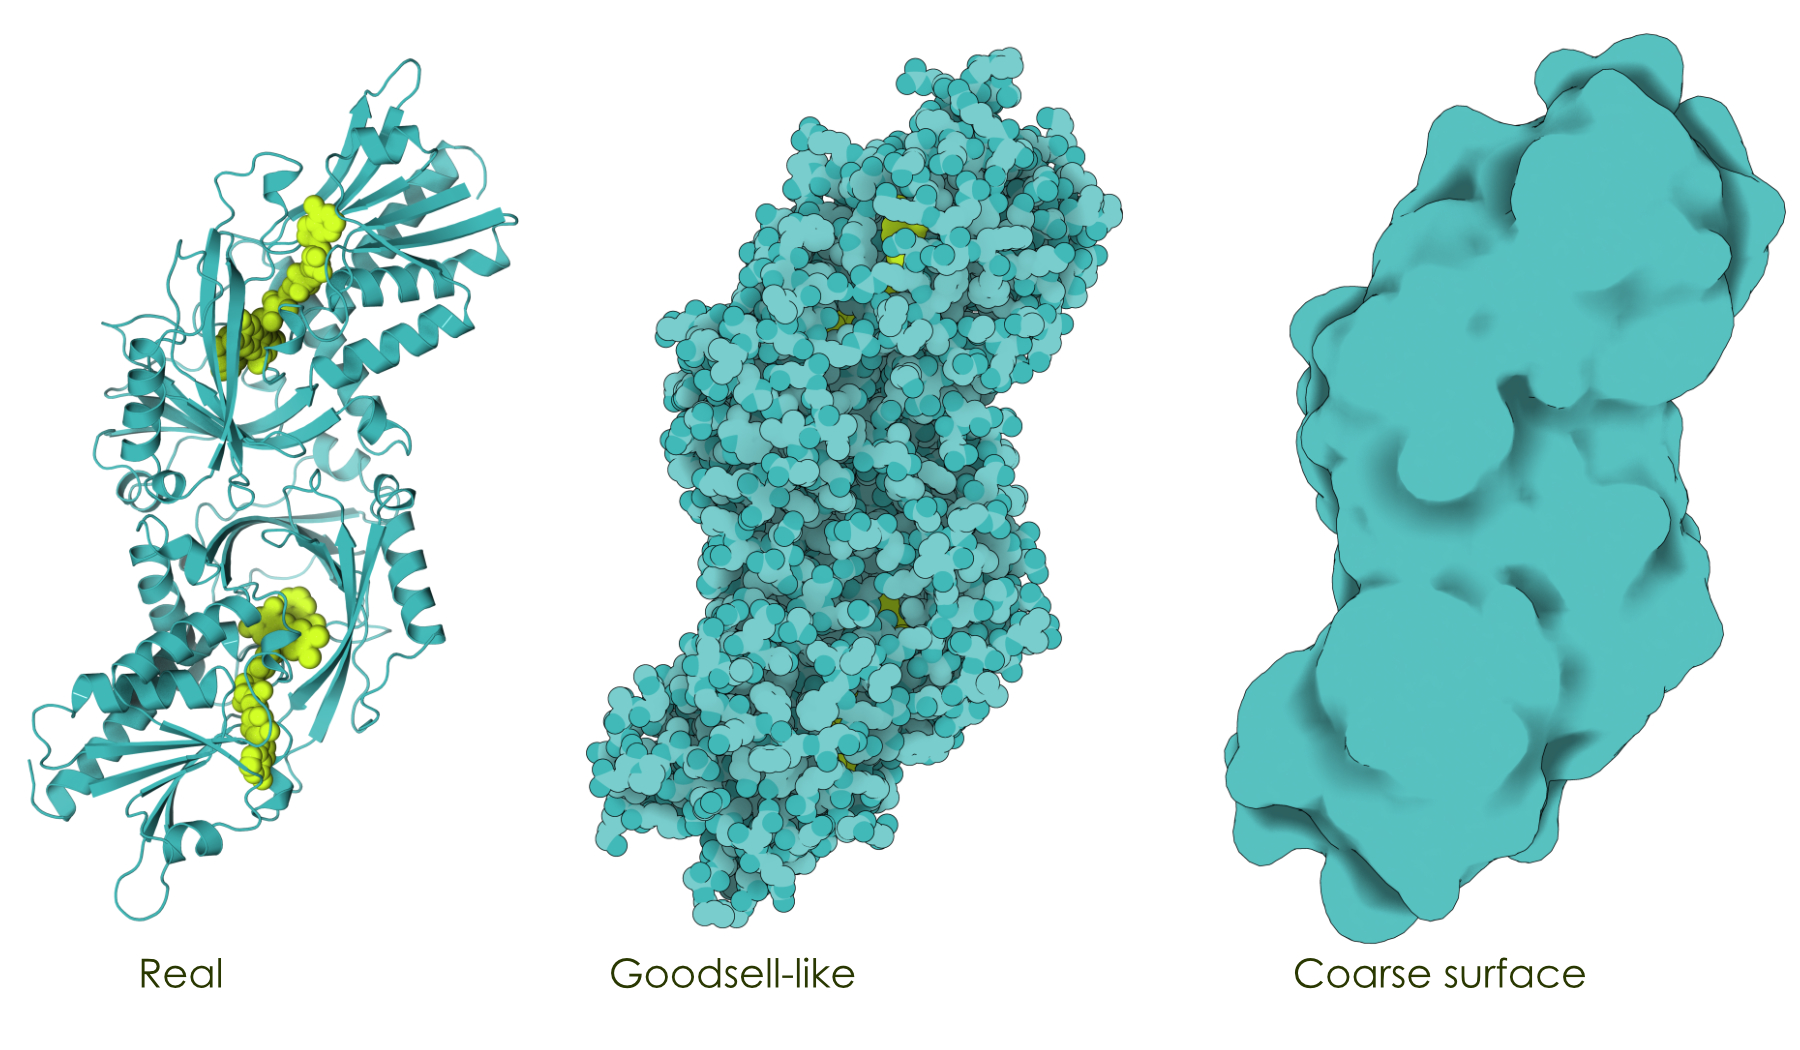
Molecular representations (surface, cartoon, spheres, sticks, etc), coloring modes, background colors, shadowing, and ambient occlusion are just some of the tunable parameters that users can play with.
Data analysis tools like structure superposition, sequence viewer, and selections are also available for experts.
Moreover, it is completely online, which means no local installation, no dealing with outdated versions, or compatibility problems with your operating systems. Every rendering relies on a dedicated server and the rendering time is typically less than 1 minute, depending on the complexity of the illustration.
Who uses Protein Imager?
From undergraduate to seasoned scientists, Protein Imager is so easy and intuitive that everyone can benefit from it. Users are free to unleash their creativity and create scientific illustrations for different purposes.
Many scientists adopted Protein Imager to illustrate their research findings on their papers or graphical abstracts.
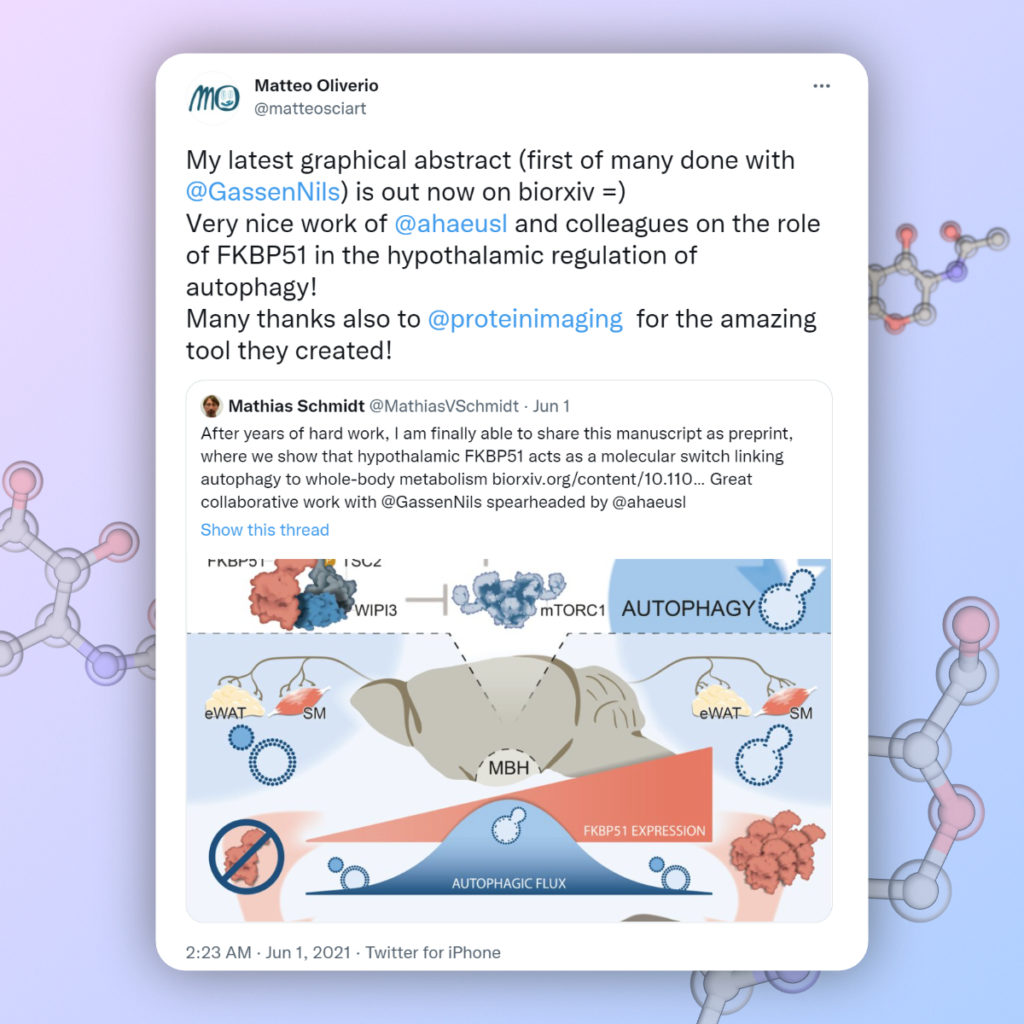
Protein Imager used by scientist Matteo Oliverio to create graphical abstracts.
The more creative ones design journal covers with Protein Imager. Those passionate about science communication use Protein Imager to design eye-catching visuals for their social media posts.
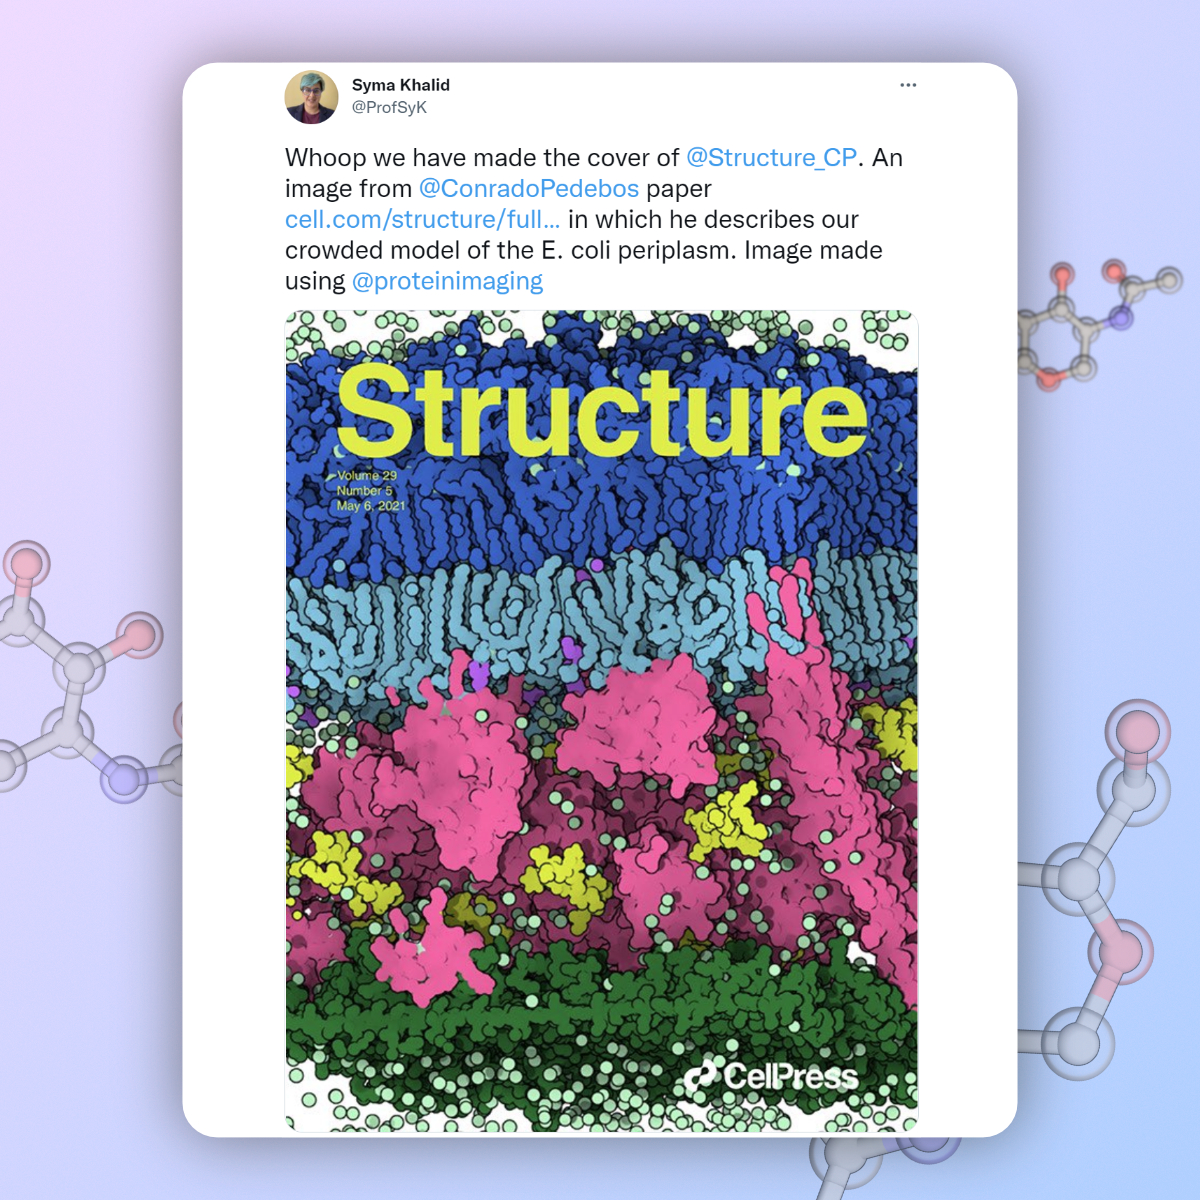
Professor Syma Khalid from the University of Oxford produced the design for the May 2021 cover of the journal Structure, Volume 29, Issue 5.
Finally, Protein Imager has the option to export the molecules as volumetric files (VRML2 format) used by medical illustrators in 3D graphics programs such as Blender, Cinema 4D, Maya.

Portfolio image from the portfolio of BioSciVisuals scientific illustration studio. Protein Imager was used to illustrate the molecules included in the final poster graphic alongside professional illustration tools.
Kick-start your illustrations
Let’s go over the basic steps to start your illustration journey, shall we?
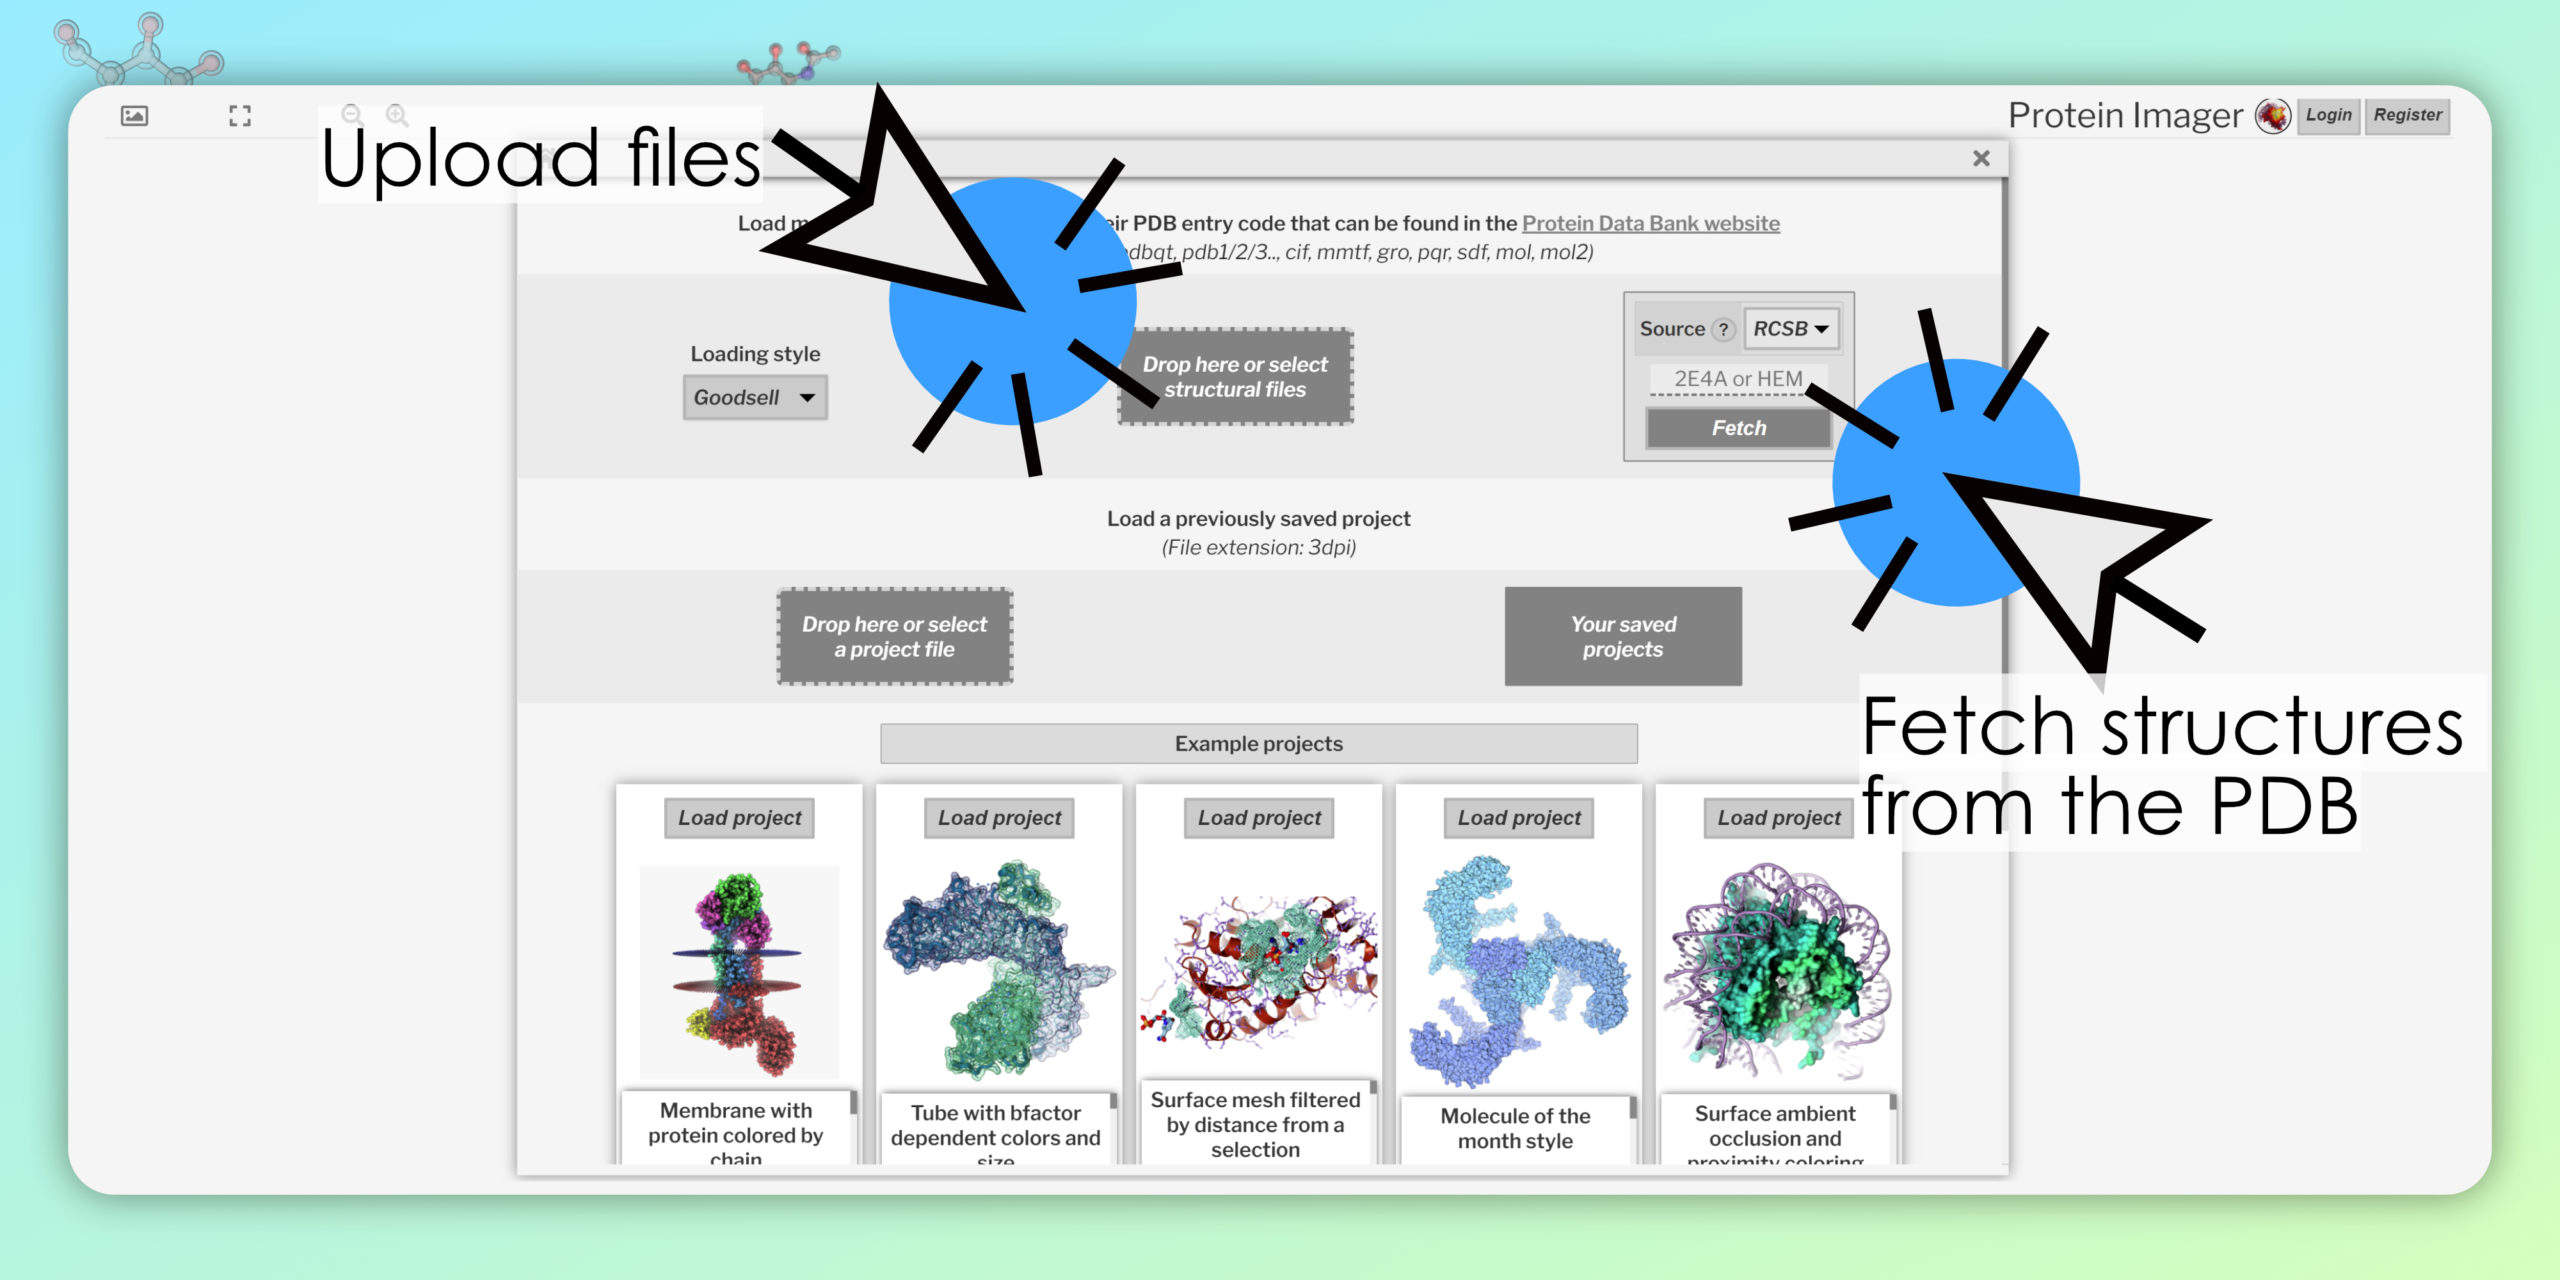
1 – Load the molecular structure
Go to Protein Imager and upload any molecular structure from your computer or fetch it from biological databases like the Protein Data Bank or the Orientations of Proteins in Membranes (OPM) database.
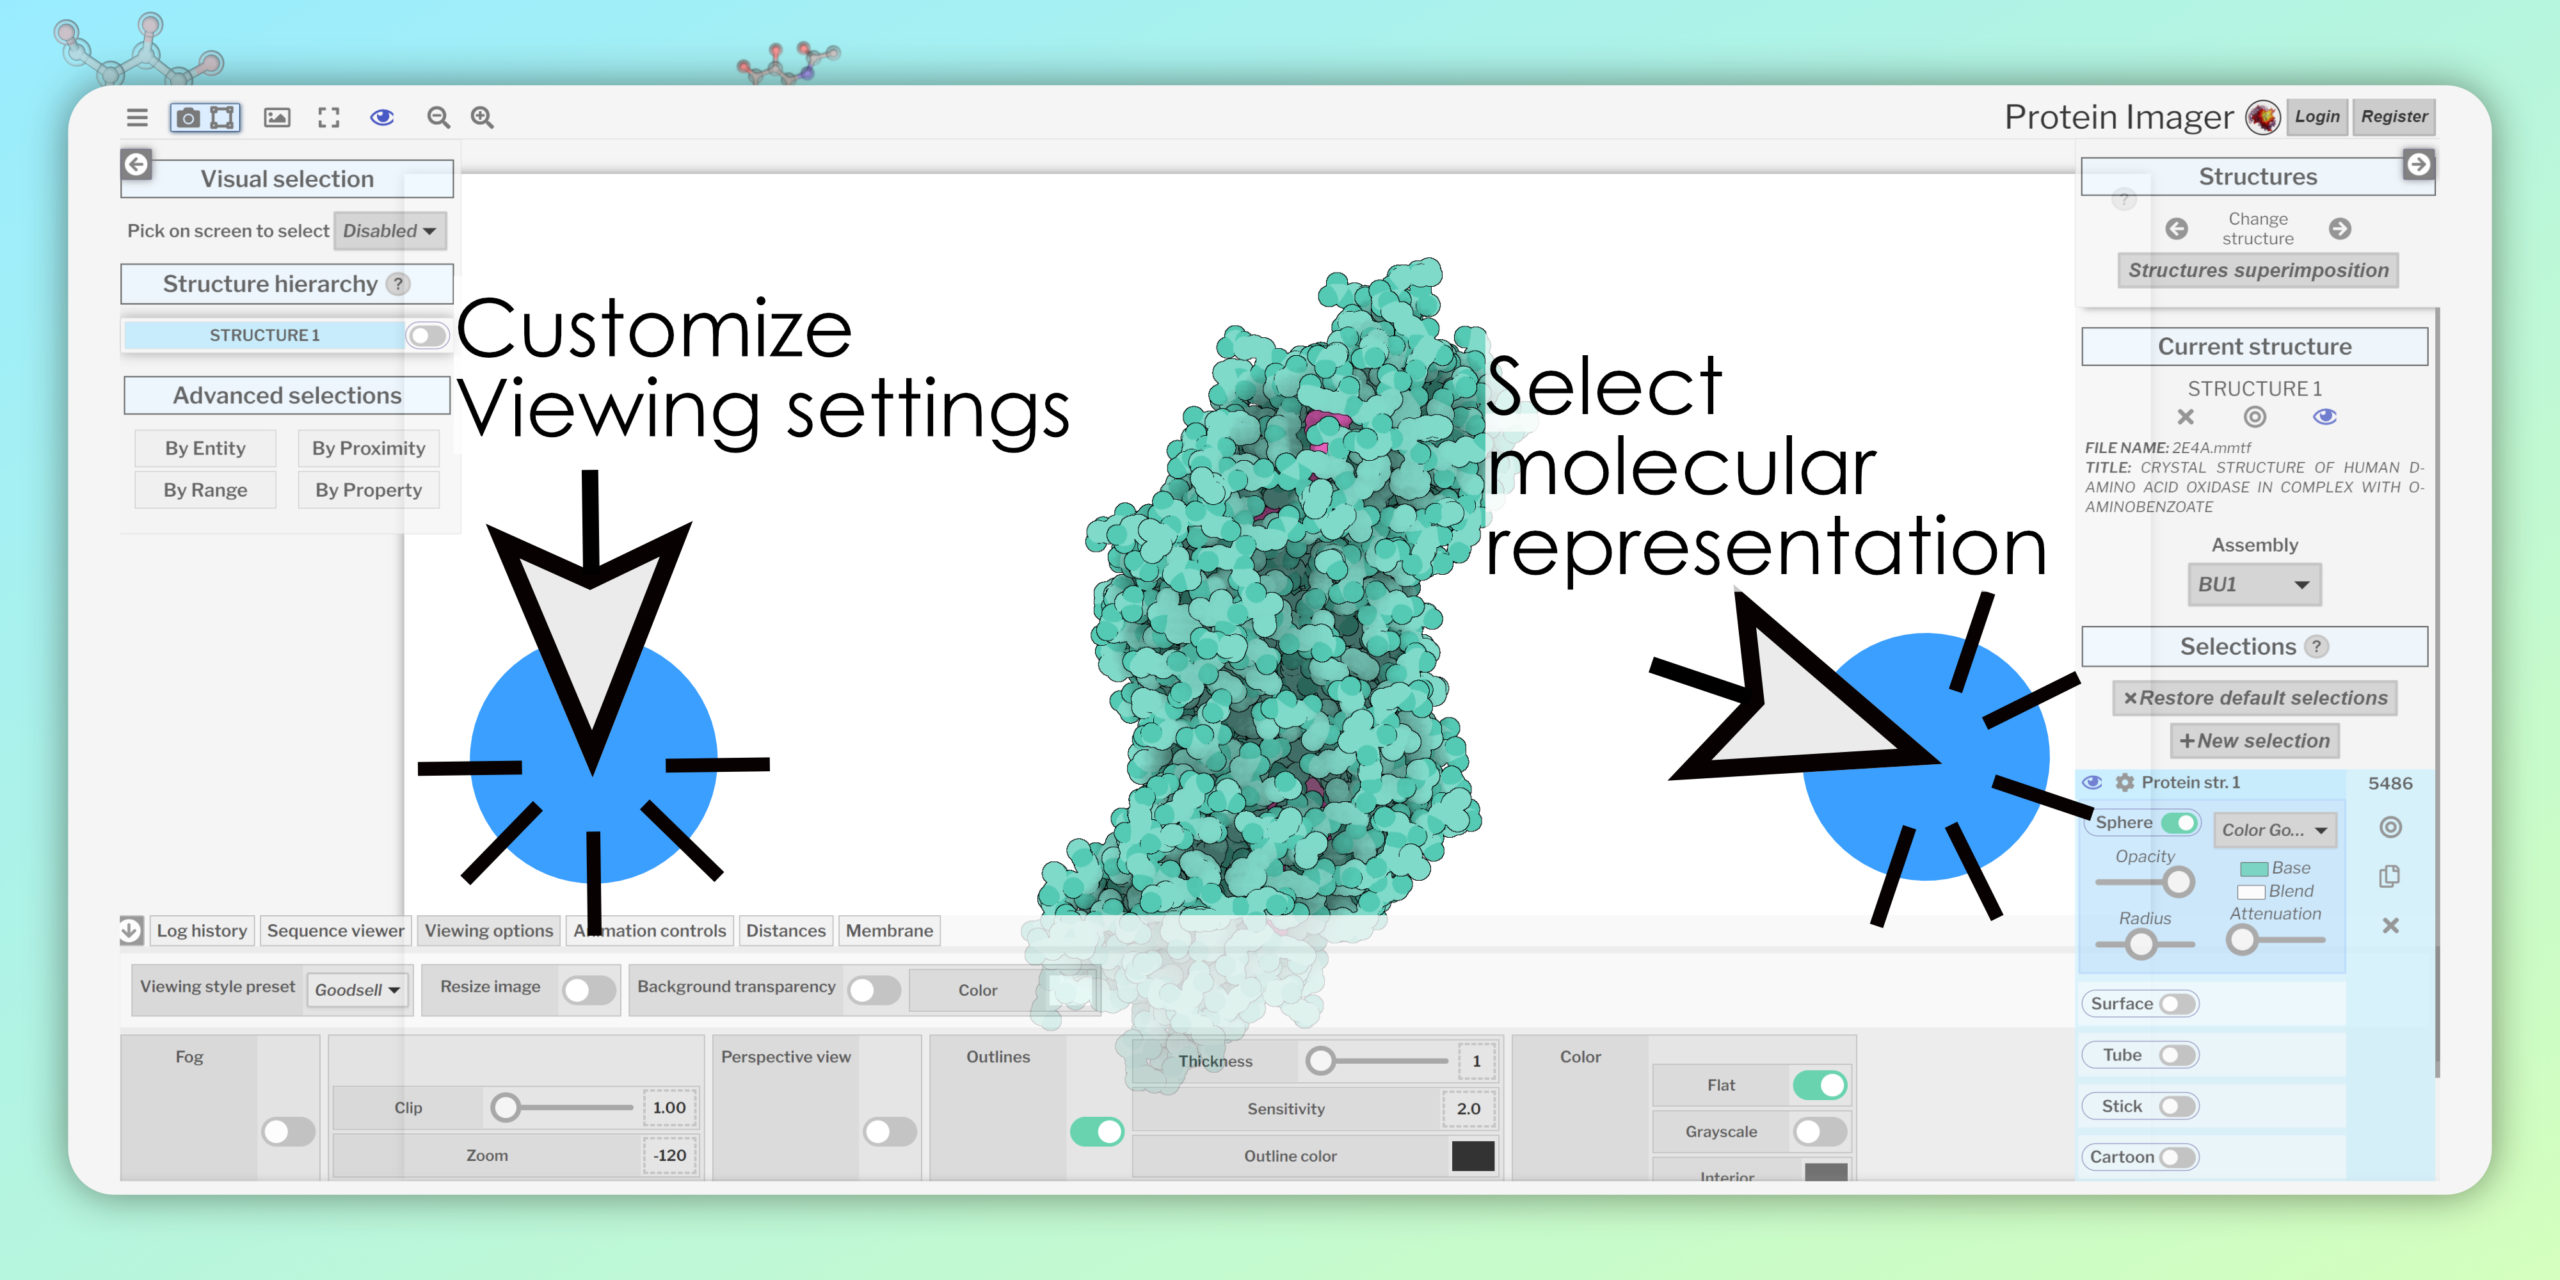
2 – Customize
Through the structure panel on the right choose the molecular representation and color schemes, through the visualization panels tune the shadowing, lights, ambient occlusion just pick a preset style.
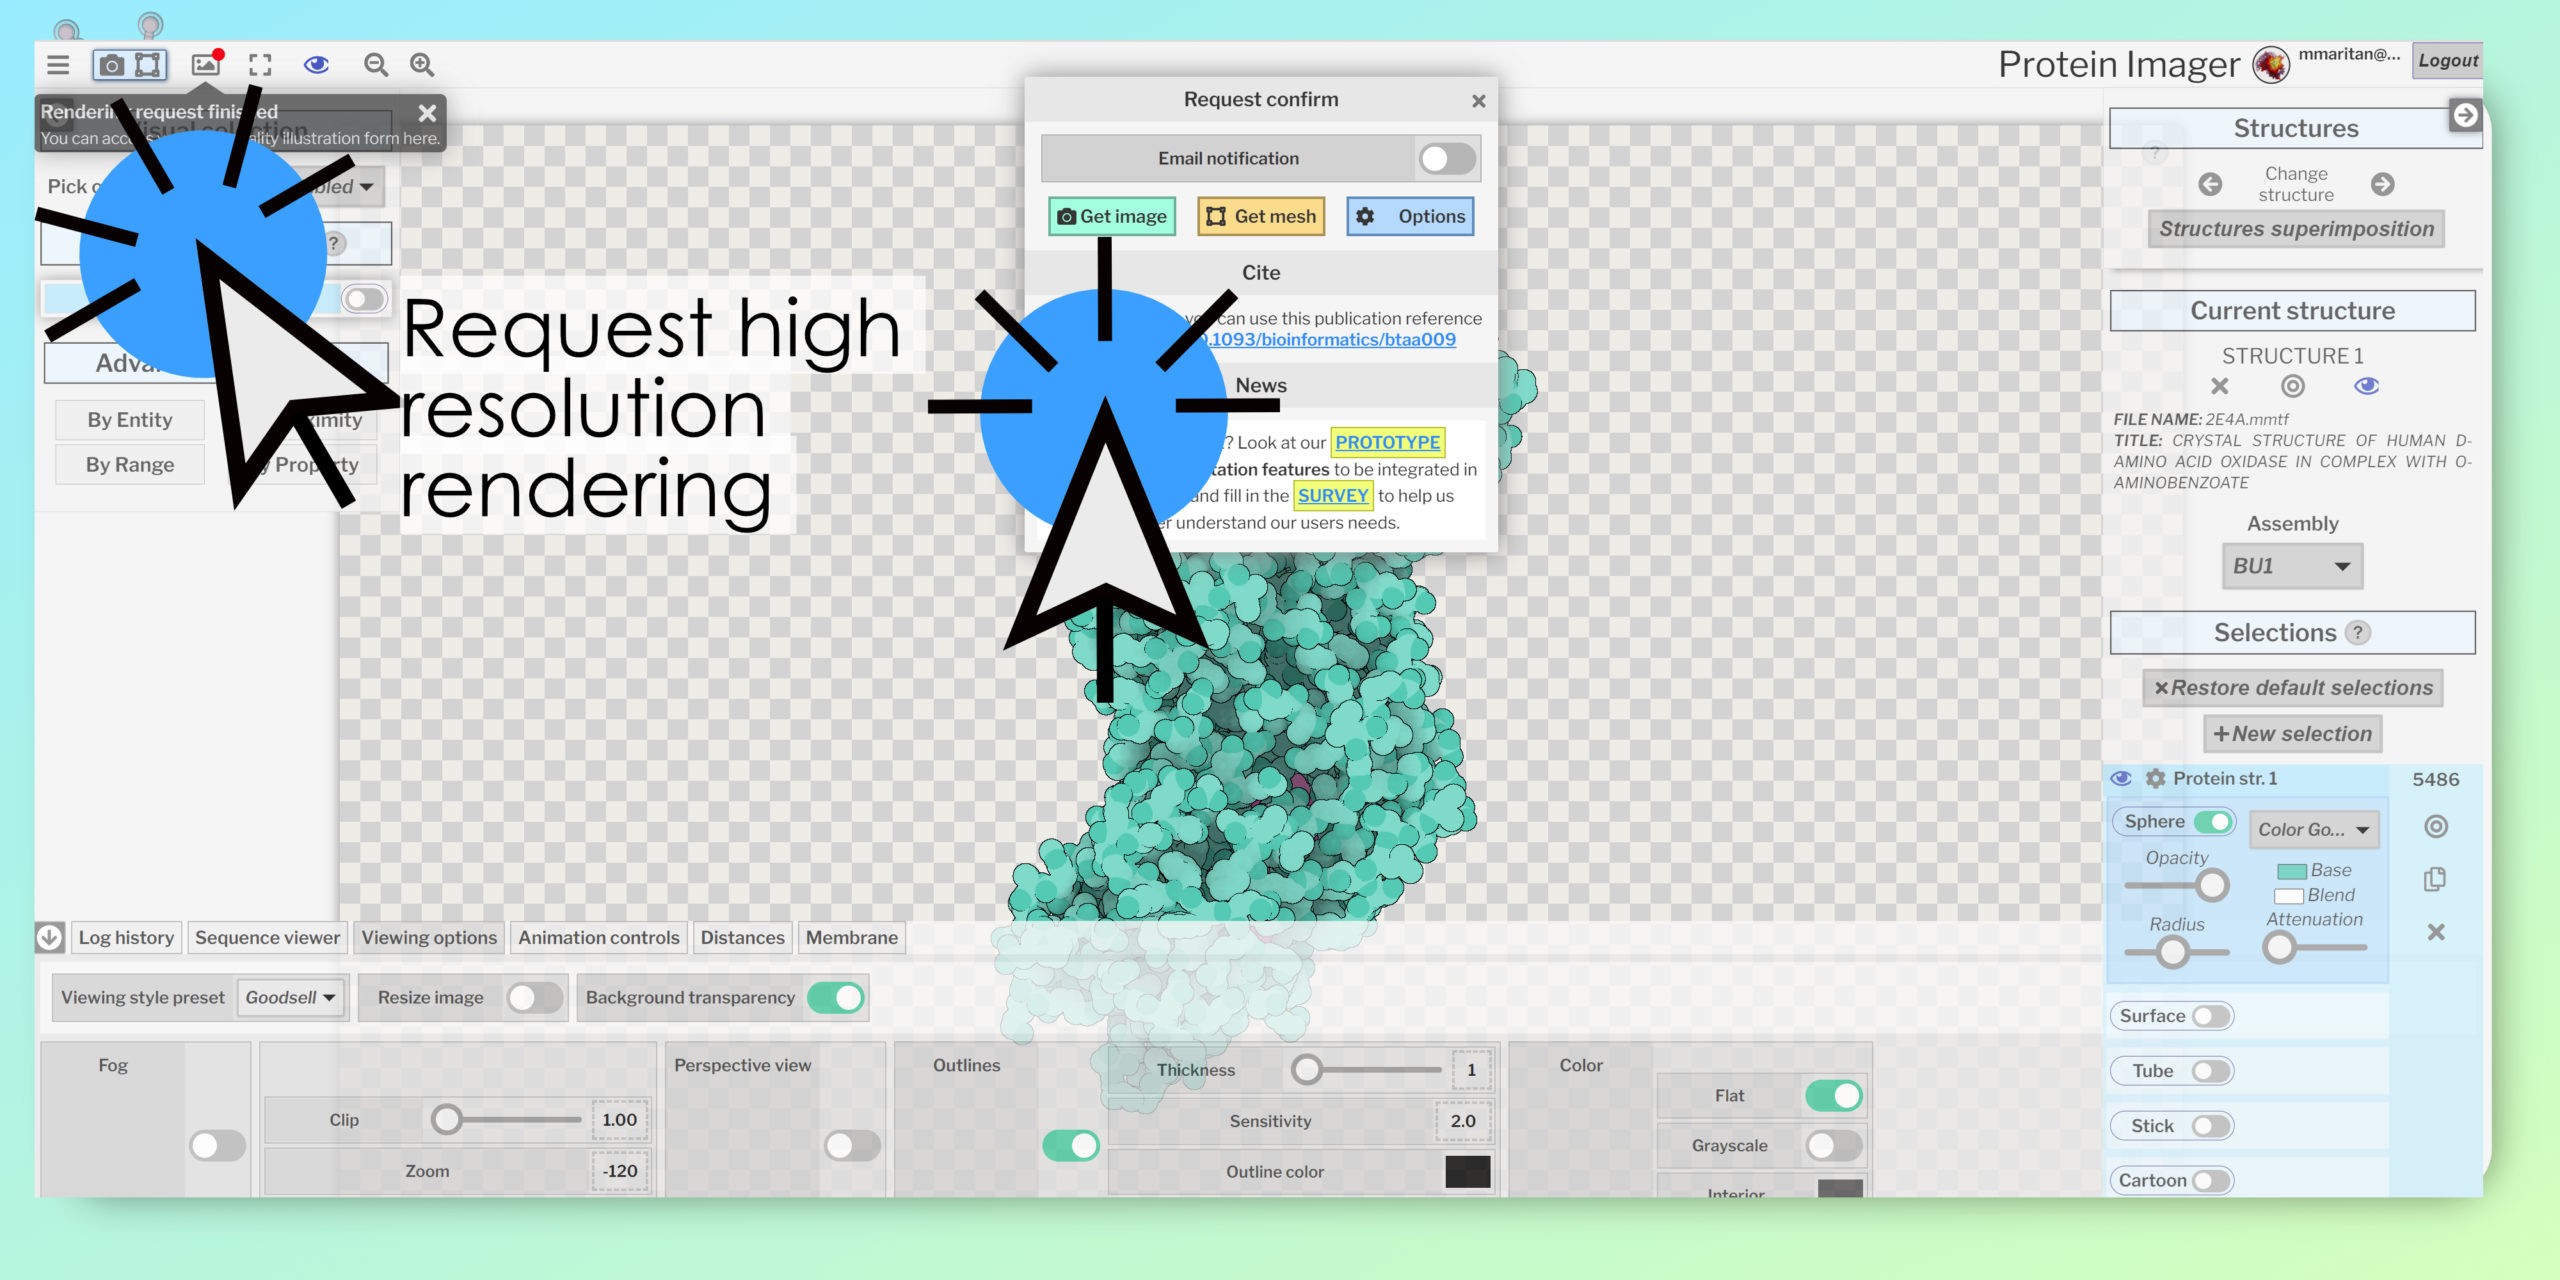
3 – Get the image
Once you are happy with the appearance of your structure, request the rendering.
In a few minutes, you will be able to download the illustration in high quality from the rendering panel. Note that to request a rendering you must sign up with a valid email address.
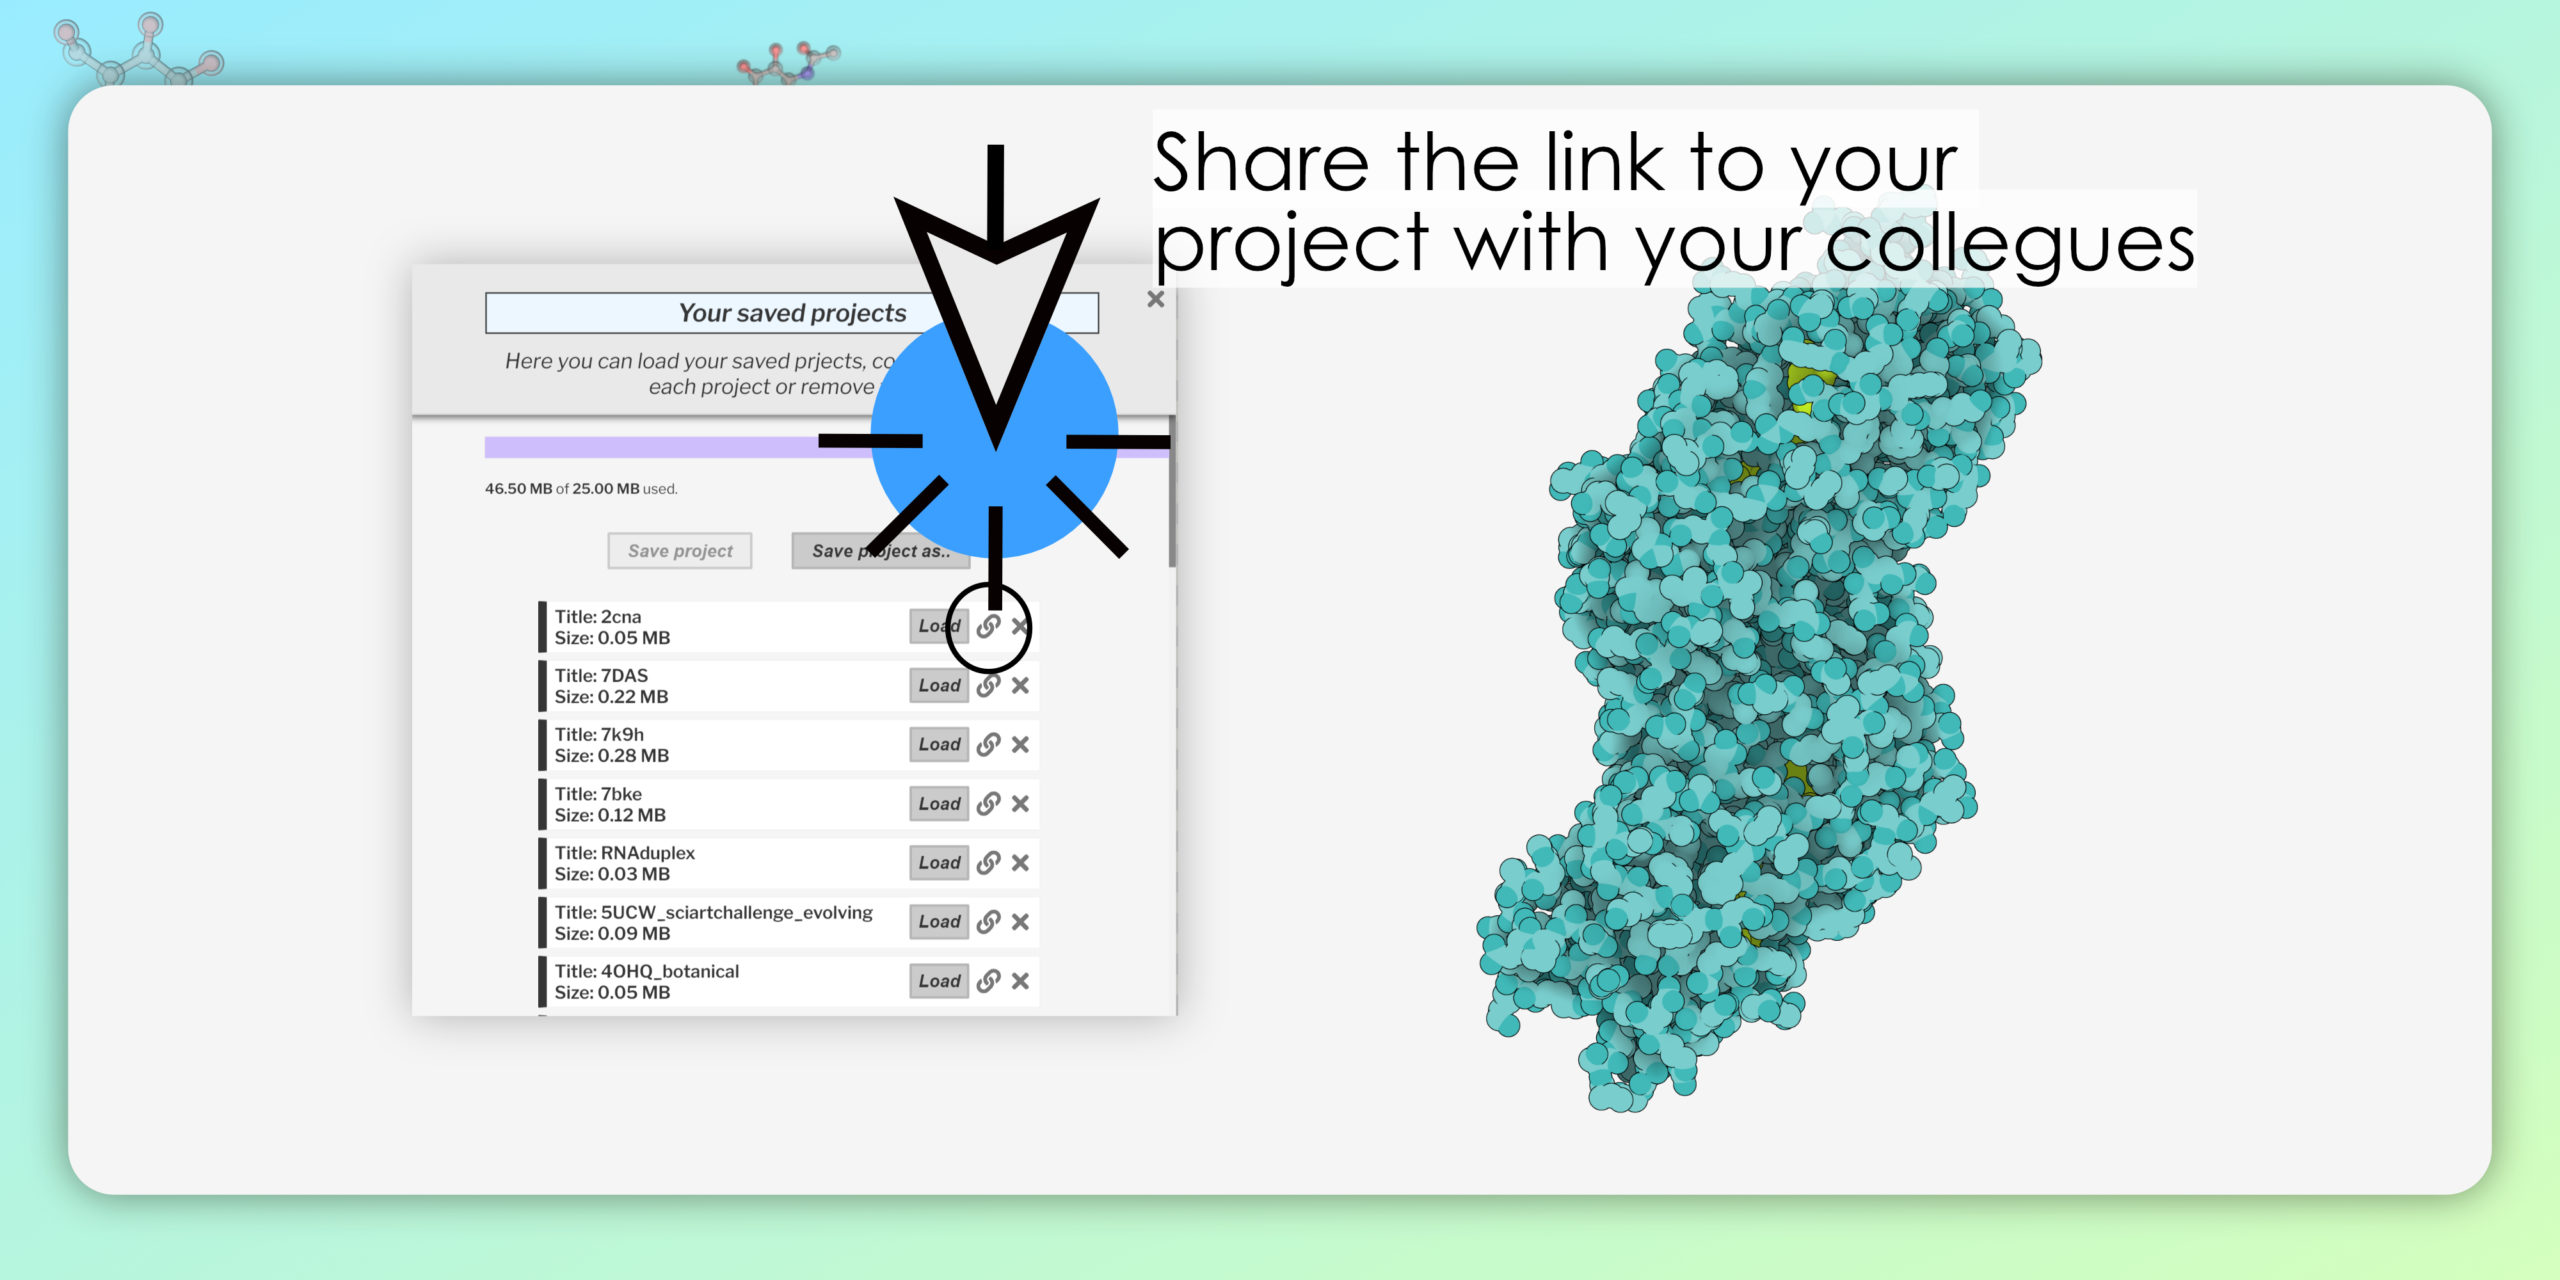
4 – Share it with your collaborators
When you are happy with your work you can save it into the user folder that stores up to 25MB. You can get a link for every project to share with collaborators so everyone is on the same page.
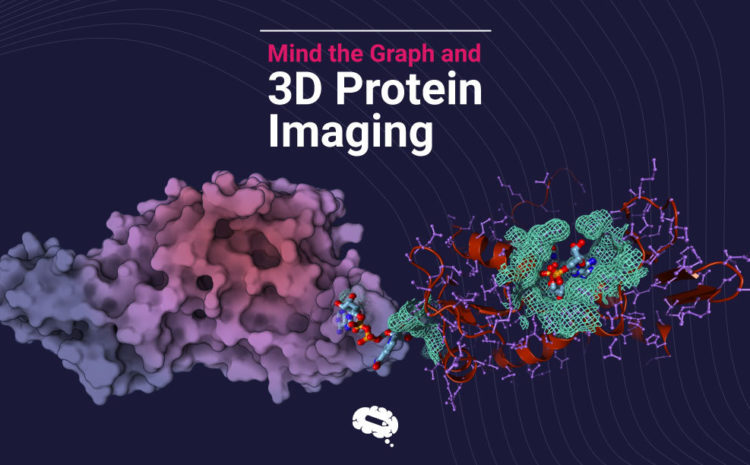
Mind the Graph and 3D Protein Imaging
Of course, 3D Protein Imaging and Mind the Graph form the best partnership ever!
You can use your 3D protein image and upload it into your creation at Mind the Graph in a second. To learn how to upload images you can watch a tutorial video right here.
Or, go to your Mind the Graph creation, click on More at the bottom of your left menu, then Upload, choose your image, and after loaded pick and drag the image to your workspace, and done!
Furthermore, you can choose any illustration available at Mind the Graph Gallery to use together with your proteins images.
Mind the Graph Gallery has many visually appealing figures for your research, with 40 000+ scientifically accurate illustrations in 80+ popular fields. If you need an illustration, you can find it at Mind the Graph.
Still, if you did not find what you need or if you need a very specific illustration, you can request a personalized illustration, and Mind the Graph illustration team will design it for you. All you need to do is to fill Mind the Graph Request an Icon form, inside your workspace, with a brief explanation and a reference image. Within a week you will get your personalized illustration.
Amazing, right?
Check out the video on how you can create your science figure using Mind the Graph and use external images from 3D Protein Imaging.
This article was written in collaboration with Martina Maritan, Communication Officer at 3D Protein Imaging.


Subscribe to our newsletter
Exclusive high quality content about effective visual
communication in science.